CentOs - chosen because it can be said she went to me (and I want to say at the meeting;)), she tried to yubuntu, but it is very tight, probably had little knowledge and yubunta not guilty.
So we will put CentOs 6.6 here you can download the images. Bother about h86_64 an i386 or will not, take this CentOS-6.6-x86_64-bin-DVD1to2.torrent if you own a torrent-th series is different CentOS-6.6-x86_64-bin-DVD1.iso and CentOS-6.6-x86_64-bin-DVD2.iso and write to the disc Nero or what you handy.
Once everything is ready, you can begin (we are aware that we do!). In the BIOS is set to boot from CD or DVD, that you have there. Computer is on, the on-screen information that can not be loaded because the screw we clean, if not, then I would recommend to delete all partitions, but this is an amateur. Insert DVD1 and press reset, CD-DVD will begin to rustle and we'll see...
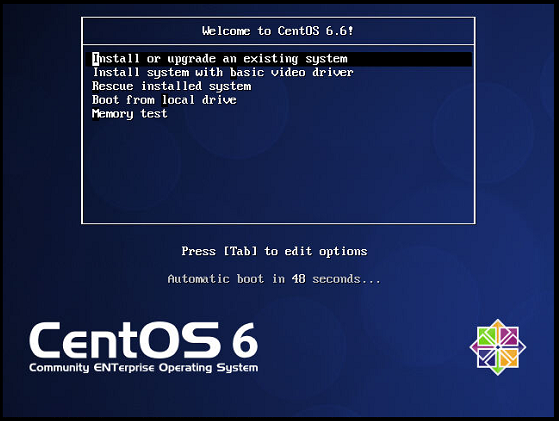
You can hit enter and then see ....
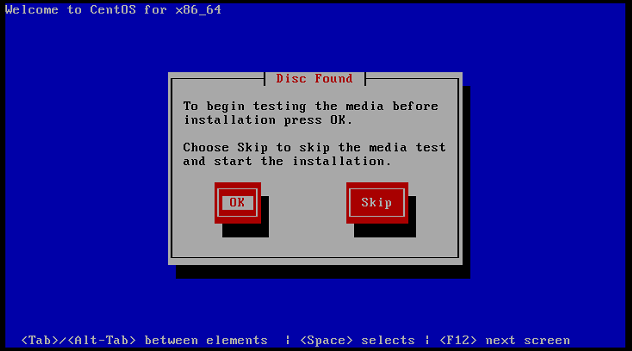
Here we propose to test the way I usually skip, click Skip, the computer will think a little bit and give this screen....

It only remains Next....
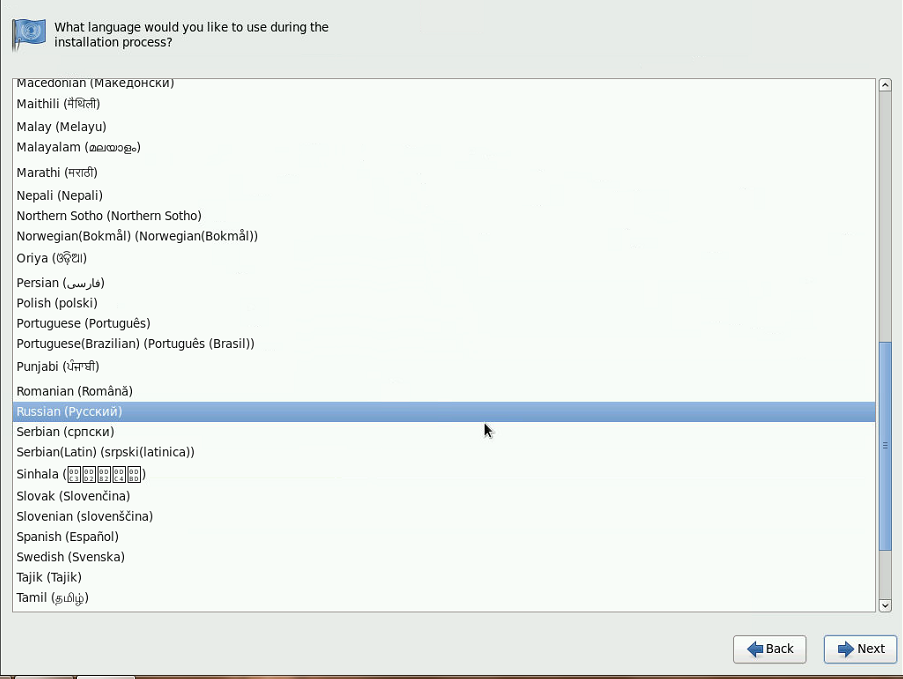
Choose Russian Next....
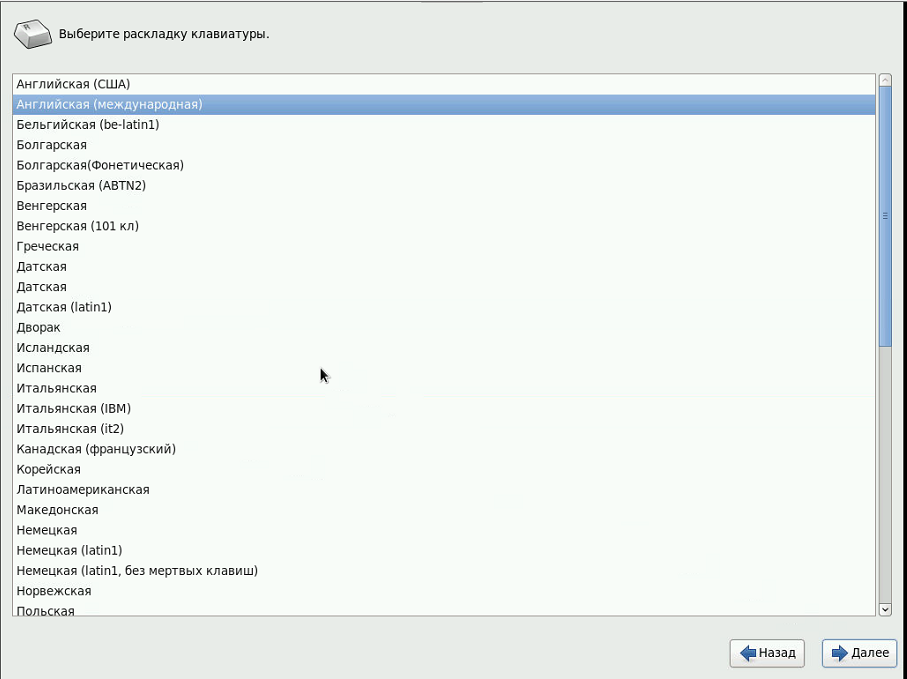
I usually choose English (International) Next...
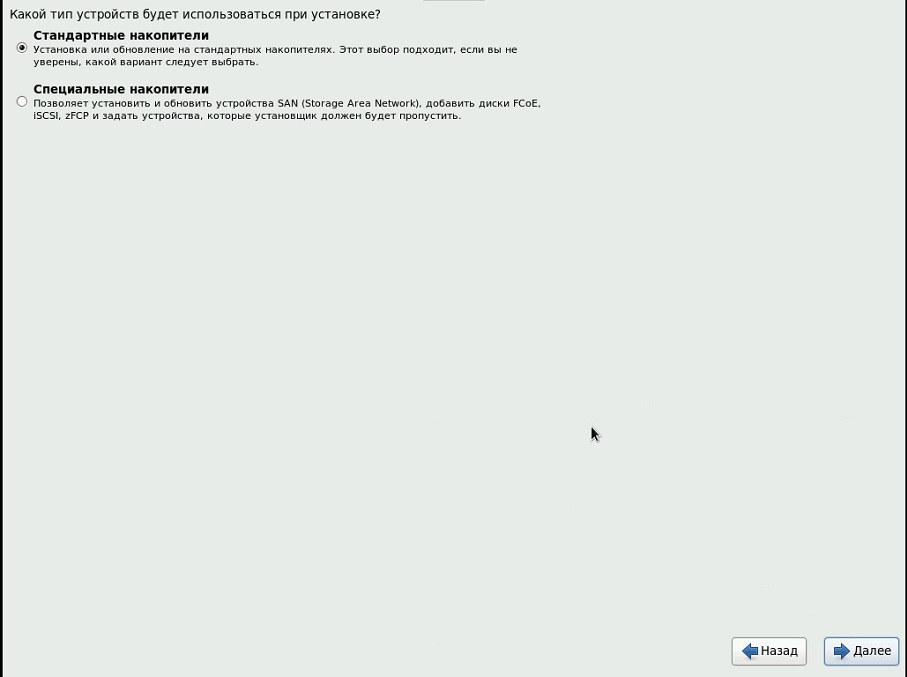
We have a standard, so Next....
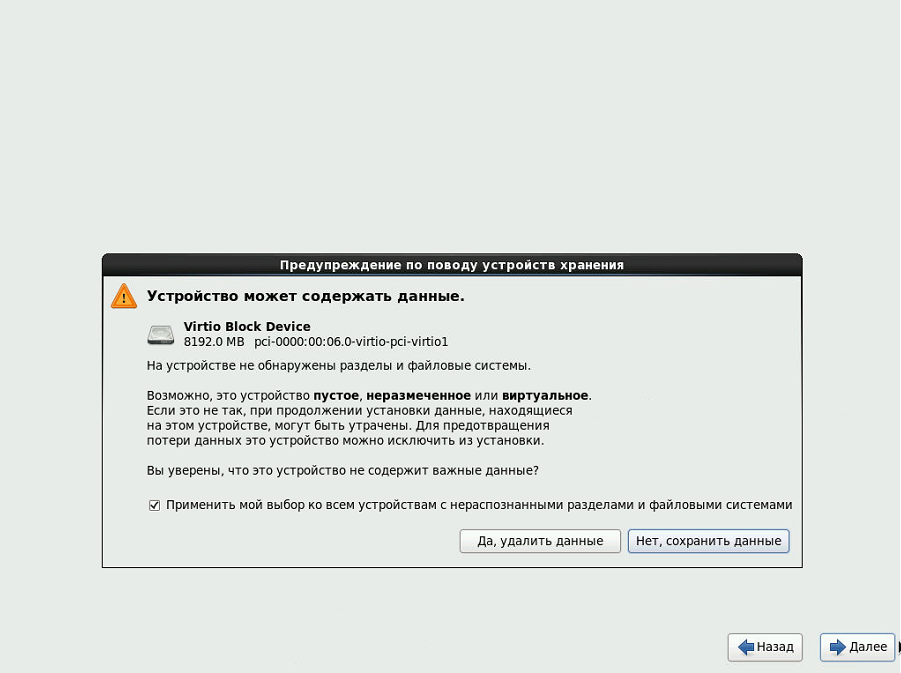
Then, "Yes, delete data" Next....
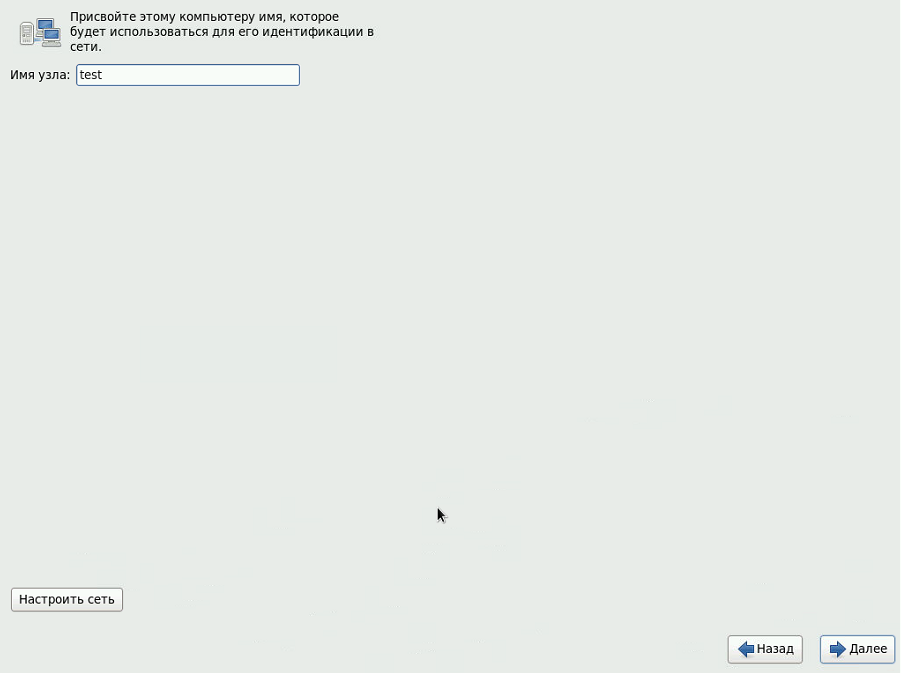
Invent the name of the computer, I have a test, and then click "Configure Network"....
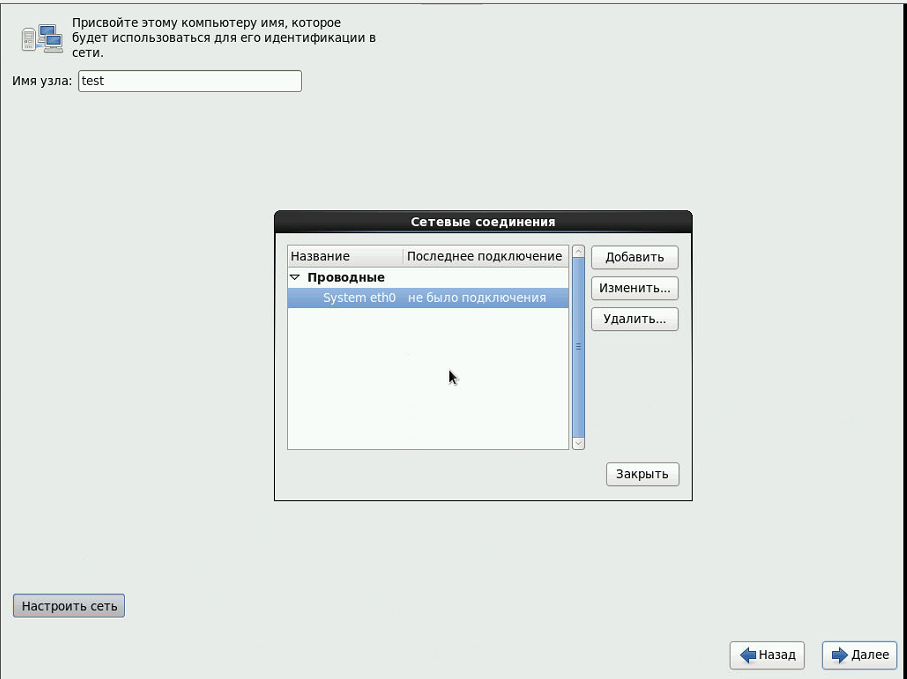
Choosing our adapter and click "Edit".....
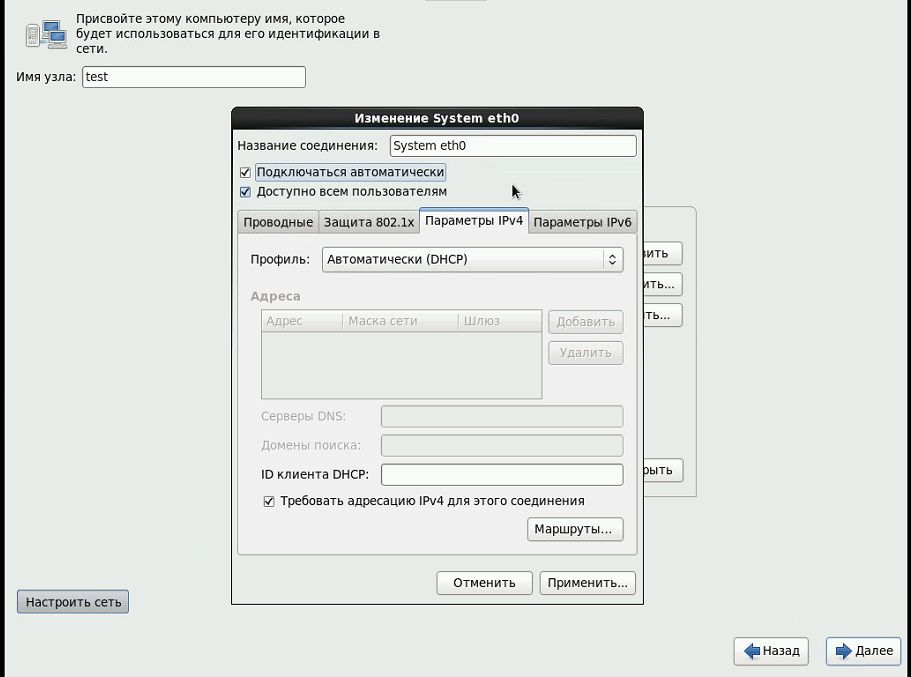
Select the tab "Settings Ipv4" there certainly put checkbox on the "Connect automatically" in the case when our server behind a router and / or we have set up DHCP, you can leave as is, but we're going to use for adults, our server, so choose the profile " Manual "and click" Add " ....
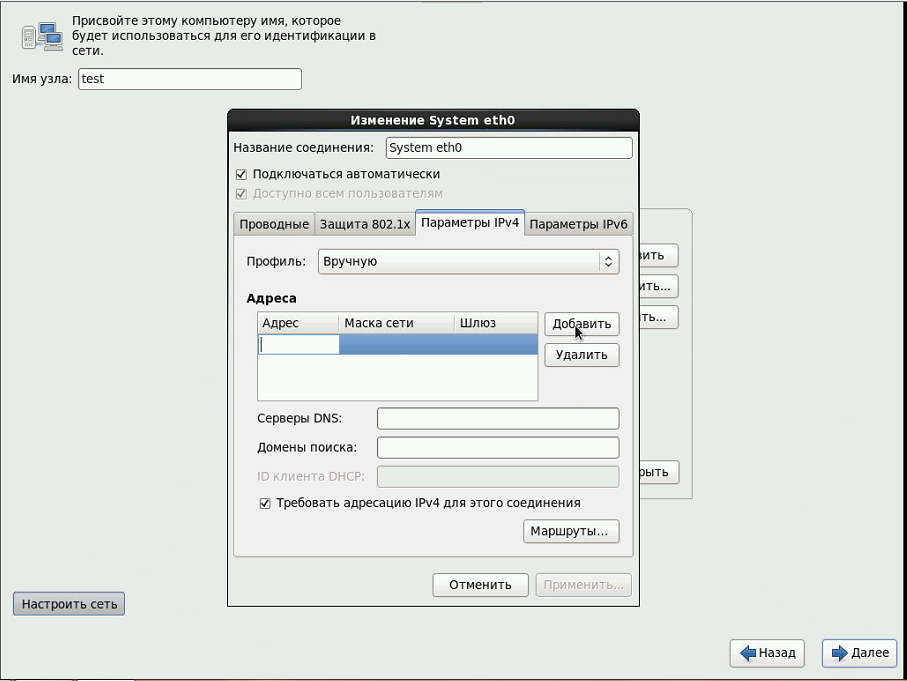
And fills the parameters of our network (need not occupied IP from our network): for my network router is a router 192.168.0.5-192.168.0.10 written all means that more than 192.168.0.10 can be used and, therefore,.
IP- 192.168.0.11
Network Mask 255.255.255.0
Gateway - is the IP of our router is 192.168.0.1 and it is this
If the DNS servers with the understanding of this problem, it is possible to drive 8.8.8.8 - Google release is DNS clock :)
Domains search it as WORKGROUP in windose (workgroup name) it is possible to record
Now click "Apply" --- "Close" and Next...
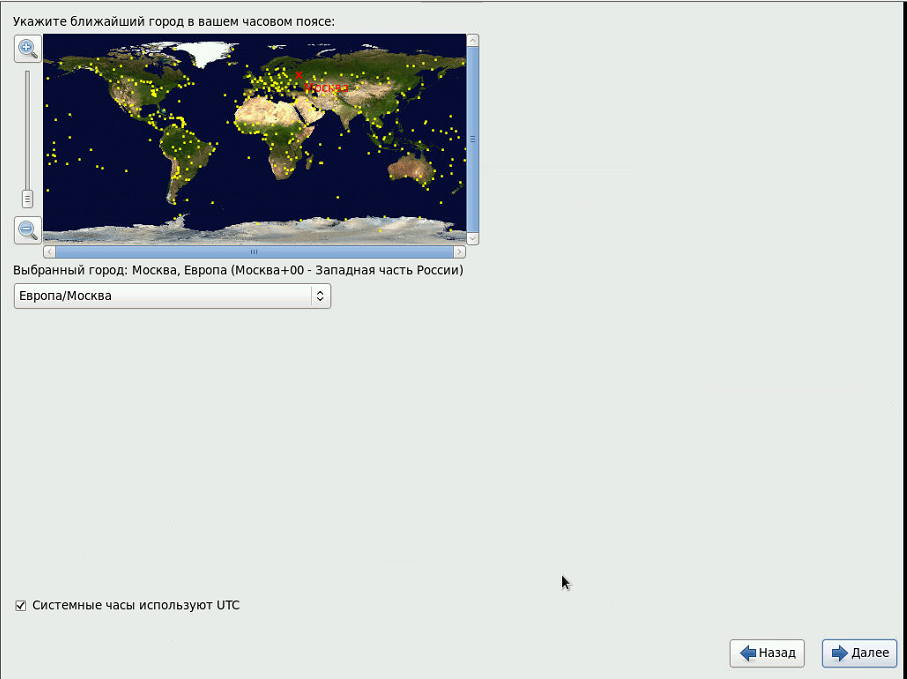
Choose a time zone ... Next
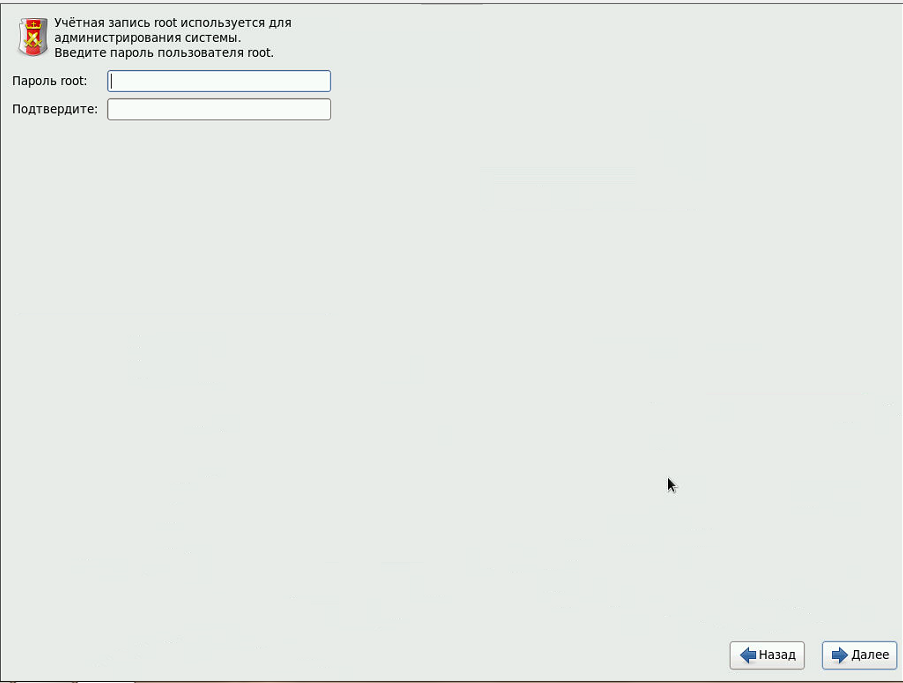
It is very important if the computer is looking directly to the Internet, it is best to come up with a strong password, as easy to crack in flight, and will need to reinstall the server again, if within the network, it is still difficult, better get used to it once (server type :)). Next....
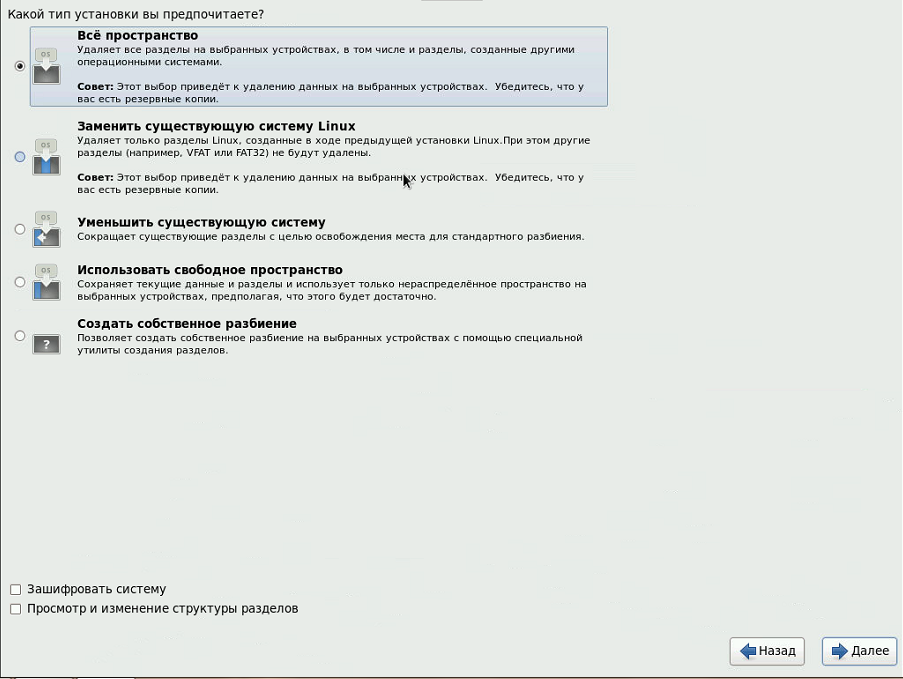
I usually choose "All space" Next...
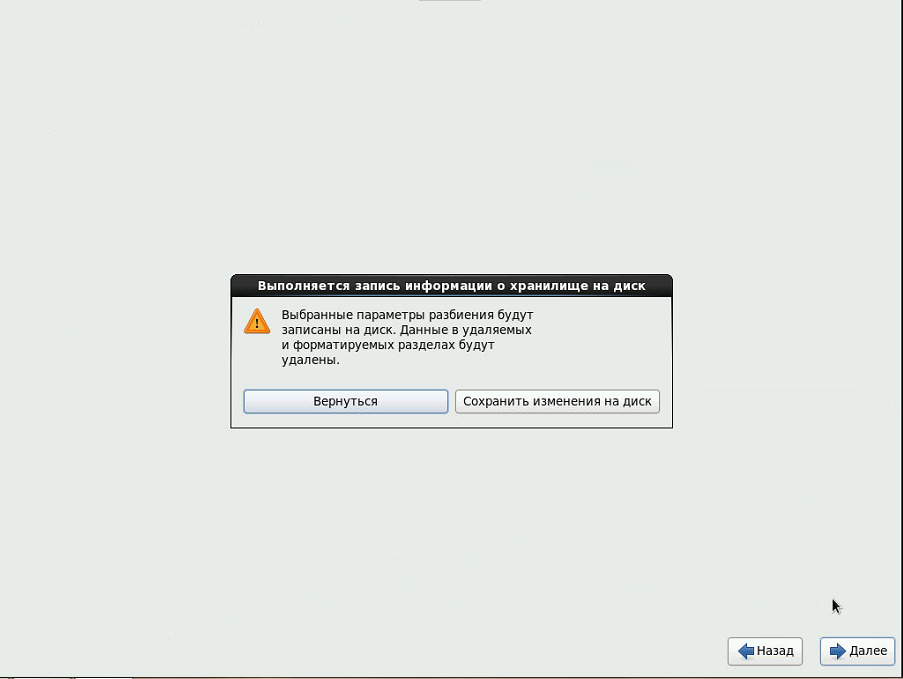
Well, the time has come to transform our screw under CentOs when you click on "Save changes to disk" our screw is marked and formatted....
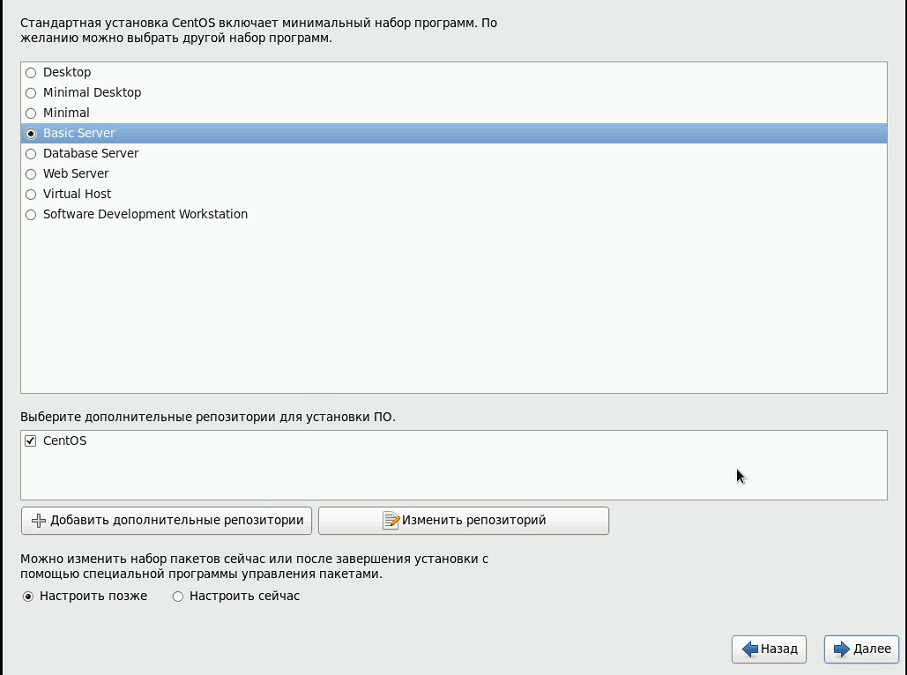
Since our server, select "Basic Server" More ...
And waiting for the completion of installation.
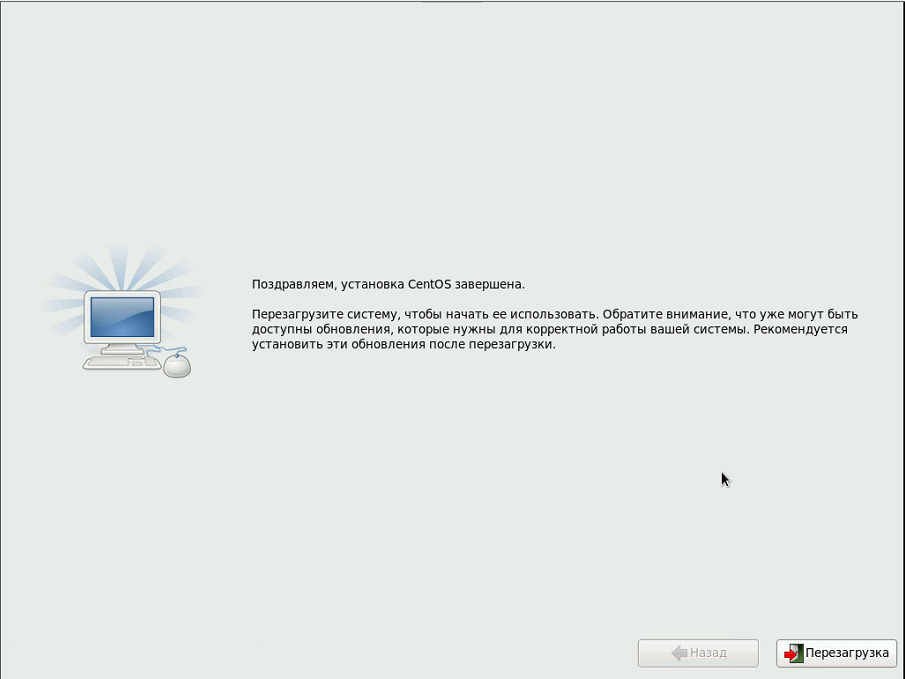
Congratulations, click Restart the computer will reboot and show you that....
Enter the username root and we press enter, enter our complex password again :) enter
Then we go about setting and it will all be in the console, so the picture will not be (or may be), is an invitation to view a text console.
So we went and see:
Last login: Wed Mar 4 23:31:43 2015
[root@test ~]#
The first thing to do is to execute the command yum update, that would be our server was updated, pulling all the latest packages. (Internet, we connected)
Обновить 132 пакет(а,ов)
Объем загрузки: 211 M
Продолжить? [y/N]:
You can vary the number of packets is normalno.Nazhmite Y and enter, update pakety.V server starts the update process will be asked questions about Importin GPG Key (or other :) and suddenly), press Y and enter, at the end you will get a list of packages Finish and end!
Now, as a server, and although we will configuration it mainly on the console, let's put a piece titled WEBMIN, it will give us the opportunity to see in a graphic web form (not the console) the content of our server, and of the ability to configure, so in the console we have to.
Perform the command: (webmin require perl posed as yum install perl)
For the latest version of Webmin-a ponpdobitsya even install it:
yum -y install perl-Net-SSLeay
cd /opt/
rpm -Uhv http://prdownloads.sourceforge.net/webadmin/webmin-1.760-1.noarch.rpm
The result is similar to the following:
Загружается http://prdownloads.sourceforge.net/webadmin/webmin-1.760-1.noarch.rpm
предупреждение: /var/tmp/rpm-tmp.OfJgZA: Заголовок V3 DSA/SHA1 Signature, key ID 11f63c51: NOKEY
Подготовка... ########################################### [100%]
Operating system is CentOS Linux
1:webmin ########################################### [100%]
Webmin install complete. You can now login to http://test:10000/
as root with your root password.
Now from another computer on your browser, it is necessary to drive a string http://192.168.0.11:10000 the IP of our server and port 10000 on which hangs Webmin, the result is likely to be waiting for a response from the time server 192.168.0.11 is up, it's because the port is closed firewall let it open.
Run the command:
nano /etc/sysconfig/iptables
We will see something like this
# Firewall configuration written by system-config-firewall
# Manual customization of this file is not recommended.
*filter
:INPUT ACCEPT [0:0]
:FORWARD ACCEPT [0:0]
:OUTPUT ACCEPT [0:0]
-A INPUT -m state --state ESTABLISHED,RELATED -j ACCEPT
-A INPUT -p icmp -j ACCEPT
-A INPUT -i lo -j ACCEPT
-A INPUT -m state --state NEW -m tcp -p tcp --dport 22 -j ACCEPT
-A INPUT -j REJECT --reject-with icmp-host-prohibited
-A FORWARD -j REJECT --reject-with icmp-host-prohibited
COMMIT
After a string -A INPUT -m state --state NEW -m tcp -p tcp --dport 22 -j ACCEPT
Insert Rows
-A INPUT -m state --state NEW -m tcp -p tcp --dport 10000 -j ACCEPT
It should look like
# Firewall configuration written by system-config-firewall
# Manual customization of this file is not recommended.
*filter
:INPUT ACCEPT [0:0]
:FORWARD ACCEPT [0:0]
:OUTPUT ACCEPT [0:0]
-A INPUT -m state --state ESTABLISHED,RELATED -j ACCEPT
-A INPUT -p icmp -j ACCEPT
-A INPUT -i lo -j ACCEPT
-A INPUT -m state --state NEW -m tcp -p tcp --dport 22 -j ACCEPT
-A INPUT -m state --state NEW -m tcp -p tcp --dport 10000 -j ACCEPT
-A INPUT -j REJECT --reject-with icmp-host-prohibited
-A FORWARD -j REJECT --reject-with icmp-host-prohibited
COMMIT
Press Ctrl O, enter and exit Ctri X
Now you have to restart the firewall execute the command
service iptables restart
We see the results
iptables: Цепочкам назначается политика ACCEPT: filter [ OK ]
iptables: Сбрасываются правила межсетевого экрана: [ OK ]
iptables: Выгружаются модули: [ OK ]
iptables: Применяются правила межсетевого экрана: [ OK ]
Still it is necessary to disable SELinux.
Run the command:
nano /etc/selinux/config
And replace the value of the variable in the SELINUX = disabled, should happen
# This file controls the state of SELinux on the system.
# SELINUX= can take one of these three values:
# enforcing - SELinux security policy is enforced.
# permissive - SELinux prints warnings instead of enforcing.
# disabled - No SELinux policy is loaded.
SELINUX=disabled
# SELINUXTYPE= can take one of these two values:
# targeted - Targeted processes are protected,
# mls - Multi Level Security protection.
SELINUXTYPE=targeted
Hit Ctrl O and Ctrl X, in principle, not bad to Reload (to restart the computer), but we will do it more than once during the setup process, so it will continue.
Again, from another computer on your browser, you can enter the string http://192.168.0.11:10000, what we now get ...
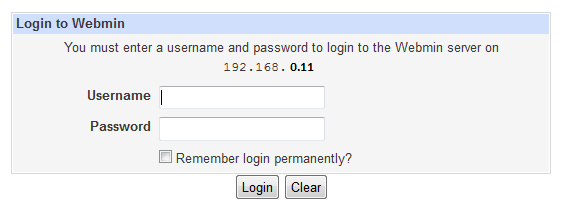
Enter root and its password
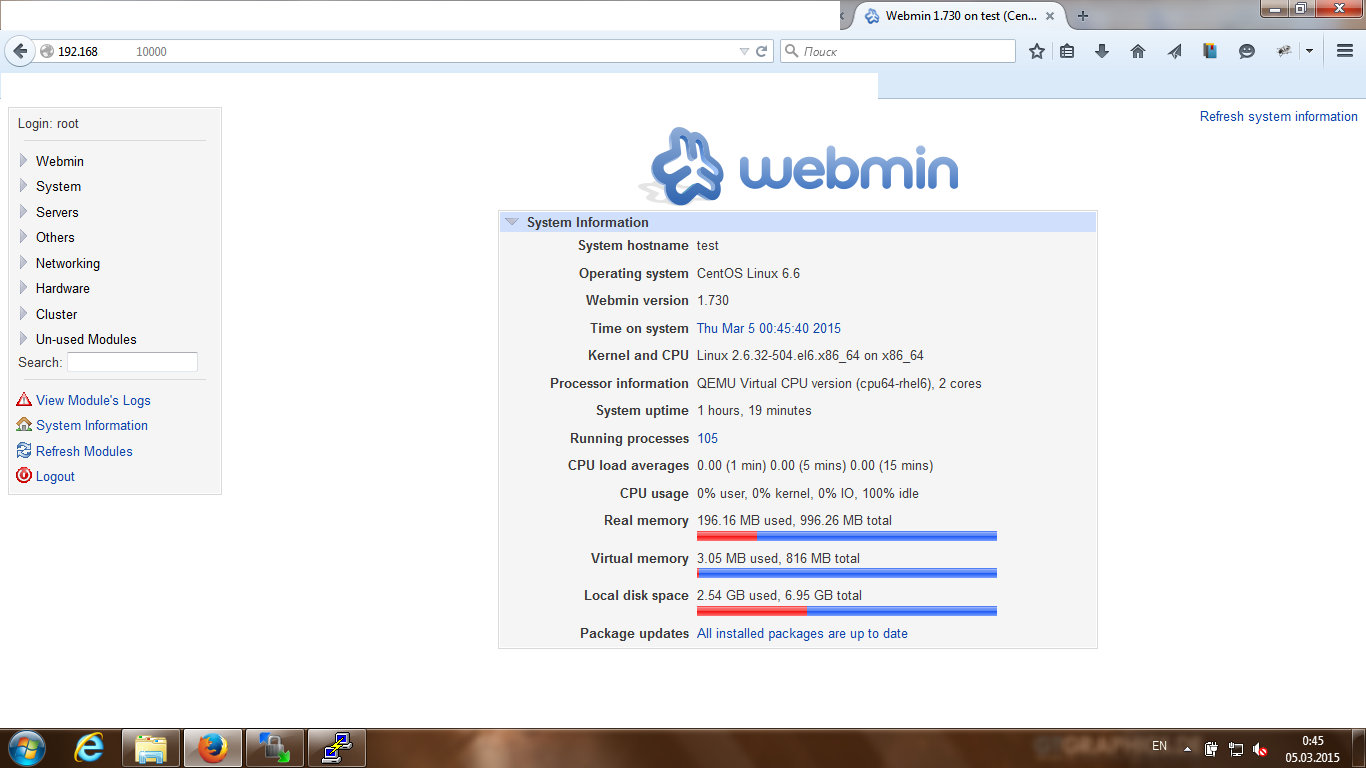
Well, congratulations, running, still in Russian, for it go (left) Webmin -> Webmin Configuration -> Language, choose to "Display in language" our native language with UTF-8, and click the button Change Language, then have to go out webmina from and re-enter, and voila!
Like this.
Now let's configure the repository, install the samba: